
Blurry videos can turn even the most epic moments into a pixelated snooze fest. Imagine capturing your dog’s hilarious antics only for it to look like a scene from a low-budget horror film. Fear not! With a few simple tweaks, that fuzzy footage can transform into a crystal-clear masterpiece worthy of the silver screen.
Understanding Video Blur
Video blur typically occurs due to camera movement, inadequate focus, or low light conditions. Shot stability plays a critical role; shaky hands can create unwanted motion blur. When recording in low light, the camera sensor struggles to capture clear images, leading to blurry results.
Focus issues arise when the subject moves quickly or when the camera fails to adjust correctly. Adjusting focus before recording helps maintain clarity. Additionally, selecting the right resolution impacts video sharpness. Lower resolutions can yield blurrier footage compared to high-definition settings.
Lighting conditions significantly influence video quality. Natural light enhances clarity, while poor lighting results in blurry visuals. For indoor recordings, using bright lights can improve the sharpness of the video.
Frame rate also affects blur. A higher frame rate captures more detail during fast movements, reducing the appearance of blur. To achieve crisp images, a frame rate of at least 30 frames per second is advisable.
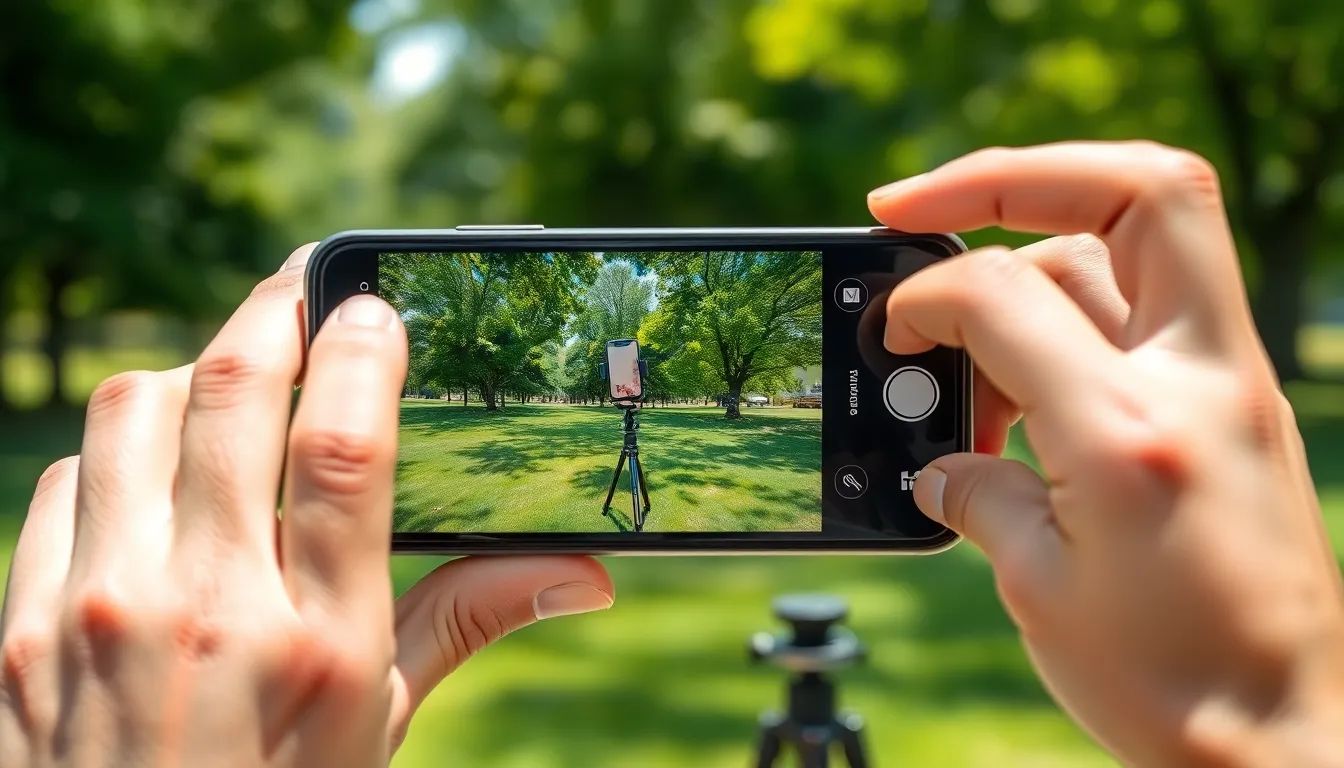
Using proper stabilizing equipment can minimize shake. Tripods and gimbals provide consistency while capturing video. Understanding these factors helps in creating clearer, more professional-looking videos.
Lastly, editing software can assist in sharpening blurry footage post-recording. Many programs offer tools for enhancing clarity and detail. By combining these techniques, video quality improves, transforming fuzzy memories into sharp, enjoyable visuals.
Common Causes of Video Blur on iPhone
Video blur can stem from several key factors. Understanding these causes can lead to significant improvements in video clarity.
Camera Settings
Camera settings play a crucial role in video quality. If the iPhone’s resolution is set too low, videos appear blurry. Higher resolution settings increase detail and sharpness. Autofocus features can also lead to blur if they fail to track moving subjects effectively. Ensuring the focus is locked before recording prevents unwanted blurriness. Frame rate settings matter as well; lower frame rates can cause motion blur. A minimum of 30 frames per second captures more detail in fast movements, enhancing overall clarity.
Shooting Conditions
Shooting conditions directly impact video visibility. Low light environments contribute significantly to blurry footage. Poor lighting diminishes detail and increases the chance of shake. Using natural light for outdoor recordings improves sharpness and clarity. When indoors, bright artificial lights should be used to counteract shadows. Steadying the camera is essential; shaky hands amplify blur. Utilizing stabilizing tools, such as tripods or gimbals, can drastically enhance video stability in all lighting conditions.
Tips to Make a Video Less Blurry
Improving video quality requires attention to specific techniques. Utilize these tips to enhance clarity and reduce blur.
Adjusting Focus and Exposure
Focus and exposure settings play a key role in video quality. Before recording, tap on the subject on the iPhone screen to ensure proper focus. This locks the focus, aiding in clearer visuals. Adjusting the exposure manually is equally important. Bright environments can lead to overexposure, while darker settings might result in blurriness. Swipe up or down on the screen to find the right balance. In fast-moving scenarios, maintain focus on the subject to prevent motion blur. Fine-tuning these settings directly impacts the final footage.
Using Stabilization Features
Stabilization features help minimize shakiness in videos. iPhones include built-in stabilization options, which automatically adjust to reduce motion blur. Incorporating a tripod or gimbal enhances this effect, providing smoother footage. Users can also enable the “Motion Stabilization” feature in their camera settings for improved results. Recording in landscape orientation adds stability and a wider frame. By using these tools, individuals can significantly enhance video quality and reduce undesirable blur.
Editing Techniques
Editing apps offer tools to enhance clarity post-recording. Apps like iMovie and Adobe Premiere Rush include functions to sharpen video and adjust brightness. Users can boost contrast to enhance details, making blur less noticeable. Applying stabilization effects in editing software also corrects shaky footage. Using clips with low blur can improve overall quality. Engaging with these editing techniques elevates the final video, ensuring clarity throughout. Implementing a few simple adjustments transforms blurry recordings into clear, enjoyable visuals.
Recommended Apps for Enhancing Video Clarity
Numerous apps enhance video clarity on iPhones.
iMovie enables users to edit and improve video quality with features like stabilization and color correction. Adjusting brightness and contrast easily enhances overall visual appeal.
Adobe Premiere Rush offers professional-grade tools for mobile video editing. Users can sharpen footage, stabilize shaky clips, and apply various filters to achieve clearer visuals.
LumaFusion serves as a powerful multi-track editing app. This app’s advanced features include frame rate adjustments and high-quality export options, ensuring crisp video output.
FilmoraGo emphasizes ease of use with straightforward editing features. Adding effects and filters can significantly improve clarity, while intuitive controls allow seamless edits.
KineMaster offers layer-based editing that enables precise adjustments. Users can fine-tune focus, color, and lighting to produce sharper videos.
InShot provides a simple interface focused on quick edits. Users streamline the process of enhancing brightness, contrast, and sharpness to minimize blurriness.
VideoGrade focuses solely on video enhancement. Users can alter exposure, saturation, and sharpness to bring images into clearer focus.
Exploring these apps can lead to improved visual quality. Choosing the right app depends on the specific editing needs and desired features. Users transform their videos into sharp, memorable content using these tools effectively.
Improving video clarity on an iPhone is entirely achievable with a few simple adjustments. By focusing on stabilization techniques and optimizing camera settings, users can significantly enhance the quality of their recordings. Utilizing proper lighting and ensuring the right frame rate can make a noticeable difference in reducing blur.
Incorporating video editing apps further allows for additional enhancements, giving users the tools to refine their footage. With these strategies in mind, anyone can transform blurry videos into sharp, memorable moments that capture life’s best experiences. Embracing these tips will lead to clearer visuals and more enjoyable viewing for everyone.

