Every iPhone 13 owner knows the struggle of muffled calls and garbled voice messages. It’s like trying to have a deep conversation with a sock in your mouth. Fortunately, cleaning that pesky microphone doesn’t require a degree in rocket science. With a few simple steps, you can restore crystal-clear sound and impress your friends with your newfound audio prowess.
Understanding the Microphone on iPhone 13
The microphone on the iPhone 13 plays a crucial role in audio functions. Users experience clear calls and voice notes when it operates effectively.
Types of Microphones in iPhone 13
iPhone 13 features multiple microphones strategically placed for optimal sound capture. One microphone is located at the bottom near the charging port, enhancing call quality. Another is positioned on the front, primarily used for FaceTime and video recordings. The rear microphone helps eliminate background noise during photography and videography. These various microphones work together to ensure high-quality audio in different situations.
Importance of Keeping Microphone Clean
Maintaining a clean microphone is essential for quality audio performance. Dust and debris can block sound entry, resulting in muffled audio. A clean microphone enhances call clarity, making conversations smoother. Clarity during voice recordings also improves with regular cleaning. Users enjoy better functionality, whether making calls or using voice commands. Regular maintenance prevents long-term issues and supports overall device performance.
Common Issues Caused by a Dirty Microphone
A dirty microphone on the iPhone 13 leads to several issues that disrupt user experience. Maintaining clean microphones is essential for optimal performance.
Audio Quality Problems
Muffled audio quality often occurs due to dust accumulation. Sounds that should be clear become distorted or faint, making conversations frustrating. During calls, users may strain to hear or require questions to be repeated multiple times. Voice messages recorded through a dirty microphone can turn into garbled and unrecognizable audio, impacting communication. Users expect clarity, yet debris creates barriers. Cleaning the microphone significantly improves audio quality and restores the intended sound.
Connectivity Issues
Connectivity can also suffer from a dirty microphone. Facetime calls may drop or experience choppy sound due to poor input capture. Background noise may overshadow the speaker’s voice, leading to misunderstandings. Users might also find that voice commands don’t register as intended when the microphone isn’t functioning properly. Common tasks, such as dictating texts or using Siri, become challenging. Regular cleaning helps maintain seamless connectivity for speech inputs and ensures optimal interaction with voice-activated features.
Step-by-Step Guide on How to Clean Microphone on iPhone 13
Cleaning the microphone on an iPhone 13 ensures optimal audio quality during calls and recordings. Follow these steps to restore clarity and functionality.
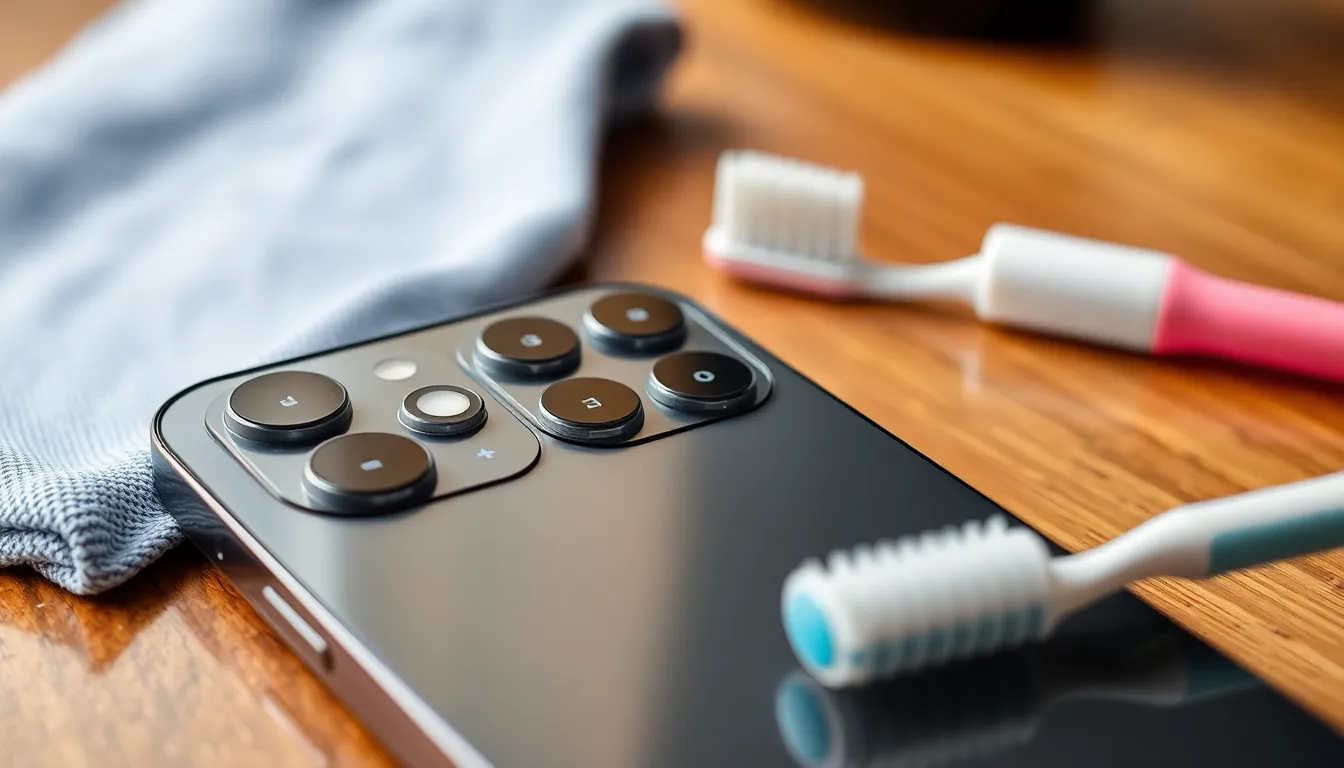
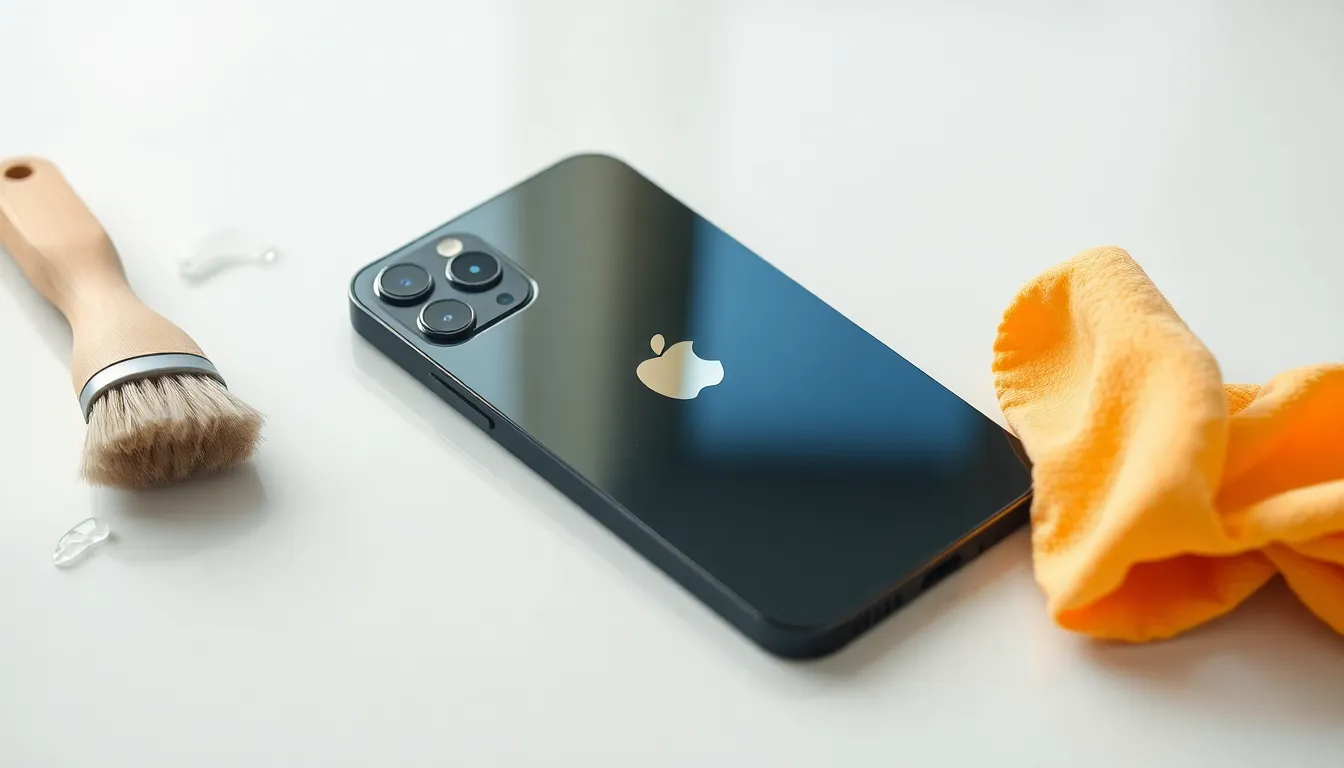
Tools Needed for the Cleaning Process
To clean the microphone effectively, gather a few essential items. A soft-bristled toothbrush serves well to dislodge debris. Using a microfiber cloth helps wipe down the device without scratching the surface. Isopropyl alcohol on a cotton swab can remove stubborn grime. Additionally, a can of compressed air can blow away dust particles without causing damage.
Cleaning Process Explained
Begin the cleaning process by turning off the iPhone 13. Use the toothbrush gently around the microphone area to loosen dirt. Carefully, blow out any remaining dust with compressed air, aiming at the microphone openings. Next, dip the cotton swab in isopropyl alcohol and lightly clean the microphone, being cautious not to soak it. Wipe the surface around the microphone with the microfiber cloth. After cleaning, power on the device and test the microphone to ensure it functions properly.
Best Practices for Microphone Maintenance
Maintaining the microphone on an iPhone 13 involves regular cleaning and careful handling to ensure optimal performance. Adopting best practices can enhance audio clarity and prolong device lifespan.
Regular Cleaning Schedule
Establishing a regular cleaning schedule promotes consistent sound quality. Aim to clean the microphone at least once a month, especially if the device is frequently used for calls or recording. Users engaged in dusty environments should consider more frequent cleanings, such as bi-weekly. Keeping the microphone clear of debris prevents sound distortion and maintains call clarity. A simple reminder can help establish this routine, ensuring the microphone remains free of obstructions.
Precautions to Avoid Damage
Taking precautions during cleaning minimizes the risk of damaging the microphone. Always power off the device before cleaning to prevent accidental activation. Using a soft-bristled toothbrush helps dislodge dirt without scratching the surface. Compressed air should be applied gently, maintaining a safe distance to avoid moisture impact. Isopropyl alcohol, when used on a cotton swab, aids in lifting grime without leaving residue. Avoid inserting tools deeply into the microphone port, as this can cause internal damage and affect functionality.
Cleaning the microphone on an iPhone 13 is a simple yet effective way to enhance audio quality. By following the outlined steps and employing the right tools users can significantly improve call clarity and voice message quality. Regular maintenance is key to preventing issues caused by dust and debris.
Establishing a cleaning routine ensures optimal performance while prolonging the device’s lifespan. With a clean microphone users can enjoy clearer conversations and a more reliable experience with voice-activated features. Taking these proactive measures not only resolves immediate audio concerns but also supports long-term device functionality.

